
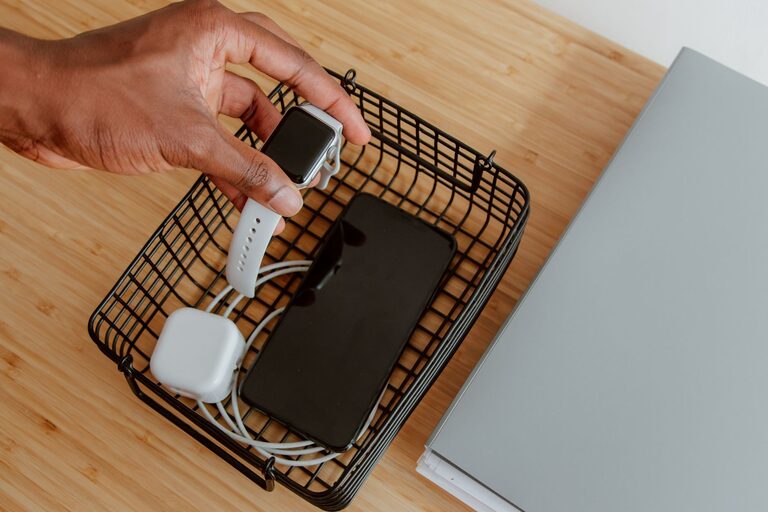
Setting up a dedicated charging station for your devices is a smart way to keep your gadgets powered, organized, and ready to use. With smartphones, tablets, laptops, smartwatches, and wireless earbuds becoming everyday essentials, having a central charging hub can reduce clutter and make your space more efficient.
In this guide, we’ll walk through everything you need to know to create a customized charging station that fits your needs and lifestyle.
Why Create a Charging Station?
Before diving into the setup process, it’s helpful to understand the benefits:
– Organization: Prevents tangled cables and scattered devices.
– Convenience: Keeps all your devices in one place for easy access.
– Efficiency: Avoids overloading outlets and optimizes charging speeds.
– Safety: Reduces risks of overheating and electrical hazards.
Step 1: Assess Your Charging Needs
Start by listing all the devices you want to charge regularly:
– Smartphones
– Tablets
– Laptops
– Smartwatches
– Wireless earbuds or headphones
– E-readers
– Portable power banks
Take note of the charging ports (USB-A, USB-C, Lightning) and power requirements for each device. This will help you determine the right adapters and cables to include.
Step 2: Choose the Charging Station Type
There are several options depending on your preferences and space:
1. Multi-Port USB Charger
These devices have multiple USB ports (sometimes up to 10 or more), allowing you to plug in several devices into one power outlet.
Pros:
– Compact and portable
– Can charge multiple devices simultaneously
– Often includes smart charging technology to optimize power
Cons:
– Limited to USB-powered devices
– May need additional cables for some gadgets
2. Docking Stations
Some docking stations are designed for specific devices, like smartphones or smartwatches, while others support multiple device types.
Pros:
– Neat and stylish design
– Can include wireless charging pads
– Keeps devices upright and visible
Cons:
– May be more expensive
– Less flexible for different devices
3. DIY Charging Station
Using trays, boxes, or repurposed furniture combined with power strips and cable organizers, you can create your own customized charging area.
Pros:
– Fully customizable size and style
– Can blend with your home decor
– Opportunity to organize cables effectively
Cons:
– Requires more planning and effort
– May need some basic tools or materials
Step 3: Gather Essential Supplies
Depending on your chosen setup, gather the following items:
– Multi-port USB charger or power strip with multiple outlets
– Charging cables for each device (USB-C, Lightning, micro-USB)
– Cable organizers like clips, sleeves, or Velcro ties
– Small containers or trays to hold devices
– Wireless chargers (optional)
– Label stickers for cables and ports (optional)
Step 4: Pick a Location
Choose a spot that’s easily accessible to everyone who will use the charging station. Common locations include:
– Home office desk
– Living room side table
– Kitchen counter
– Bedroom nightstand or dresser
Make sure there’s a power outlet nearby and enough space to arrange devices comfortably.
Step 5: Set Up and Organize
Arrange Power Sources
Plug your multi-port charger or power strip into the outlet. Avoid overloading a single outlet by spreading devices across multiple power sources if needed.
Manage Your Cables
Use cable clips or sleeves to bundle and route cables neatly. Label each cable near the charger end to quickly identify which device it belongs to.
Organize Devices
Place devices in trays or designated spots. Upright stands or docks can help save space and make devices easier to see.
Consider Wireless Charging
If your gadgets support wireless charging, include Qi wireless pads or stands. This reduces cables and streamlines the look.
Step 6: Maintain Your Charging Station
Keep your charging station clean and organized by:
– Regularly dusting and wiping surfaces
– Checking cables for wear and replacing damaged ones
– Removing unused chargers or devices
– Updating labels as devices change
Additional Tips
– Avoid charging devices on soft surfaces like beds or couches to prevent overheating.
– Use surge protectors to safeguard your electronics.
– Charge devices in airplane mode or turned off for faster charging.
– Consider eco-friendly chargers or power-saving options.
Conclusion
A well-planned charging station can simplify your daily routine and prolong the life of your devices. By assessing your needs, choosing the right equipment, and organizing thoughtfully, you can create an efficient hub that keeps your tech powered without the mess.
With just a little time and effort, your charging station will become a convenient and stylish part of your home or workspace. Happy charging!
About the Author